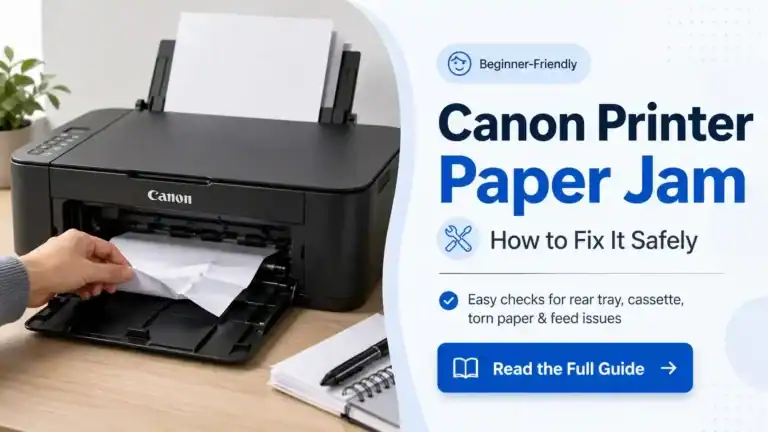
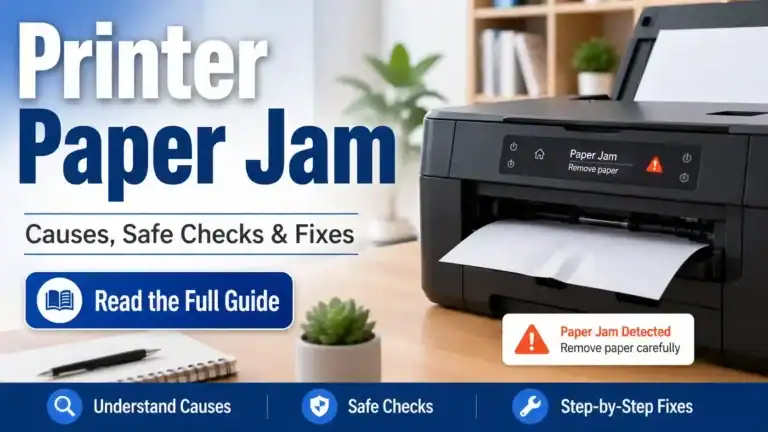
How to Fix a Paper Jam in a Printer
A printer paper jam is frustrating, but in many cases, you can clear it at home without damaging the machine.
The key is to work in the right order. Do not start yanking paper from the first spot you see. A careful paper jam fix is usually safer and faster than forcing the sheet out.
Use the steps below if your printer has jammed paper, stopped feeding paper, or shows a paper jam message, and you can see paper stuck somewhere in the paper path.
Table of Contents
Before You Start (How To Fix A Printer Paper Jam)
Before touching anything, stop the print job if the printer is still trying to pull paper through.
Then turn the printer off and unplug it. This matters because some printers move rollers, carriages, or internal parts while powered on. If the printer was just printing, give it a minute to cool down before reaching inside.
If you can, place the printer where you have good light. A flashlight helps more than trying to reach inside blindly.
Step 1: Remove Loose Paper From the Tray
Start with the simplest area first.
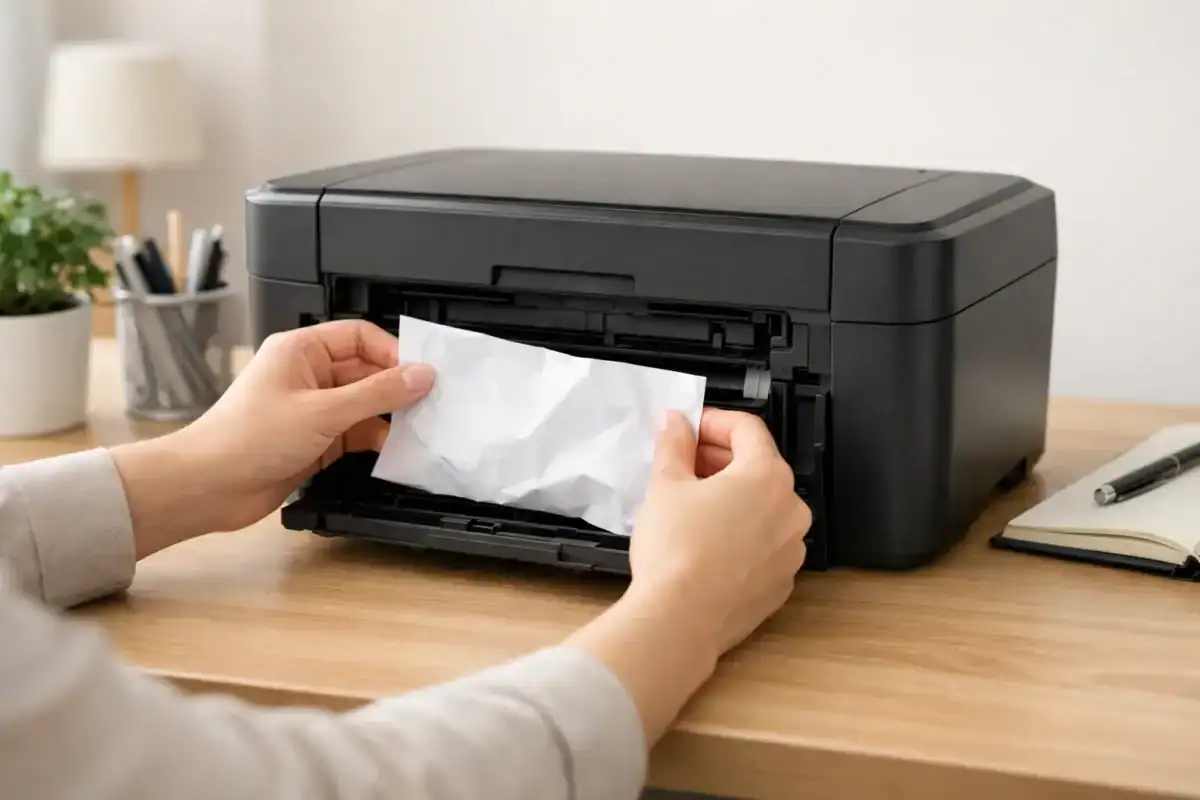
Take all paper out of the input tray. If you see a sheet that only started feeding and is still easy to grab, pull it out slowly with both hands. Try to keep the paper straight as you remove it.
Do not pull hard if the sheet feels trapped deeper inside. If there is resistance, stop and move to the next access point instead of tearing it.
Also, remove any wrinkled, curled, damp, or partly fed sheets from the tray. Leaving damaged paper behind can cause the next test print to jam again right away.
Step 2: Check the Rear Access Door or Duplexer
On many printers, the rear access area is the safest place to clear a jam.
If your printer has a rear door, duplexer, or back panel, open that next. Look for paper caught between rollers or folded in the paper path.
When you remove the paper, pull it slowly in the direction the paper normally travels. That usually means easing it out along the path instead of dragging it backward at a sharp angle.
Use steady pressure, not quick force. Fast pulling can tear the sheet and leave scraps behind.
If the paper tears, do not assume the job is done. Small pieces left near the rollers or corners can trigger another jam almost immediately.
Step 3: Check the Front Cover Area Only if the Jam Is Not Cleared
If the rear area does not clear the jam, open the front access area carefully.
Depending on the printer, this may be behind a front cover, toner door, ink cartridge area, or scanner unit. Open only the normal user-access panels. Do not start removing screws or pulling apart panels that are not designed to open.
Look for paper trapped near the feed rollers, cartridge path, or output path. If you can reach the paper easily, remove it slowly with both hands.
Be careful around anything that feels hot, stiff, or delicate. Do not force the printhead carriage, toner assembly, or any plastic arm out of position just to reach paper.
If visibility is poor, use a flashlight and look from different angles before reaching in.
Step 4: Check for Torn Scraps Before Closing Anything
This step is easy to skip, and it is one of the biggest reasons a printer paper jam fix does not hold.
After the main sheet is out, inspect the full paper path for leftovers. Check:
- the input area
- the rear access path
- the front cover area
- the rollers
- the corners where paper may have folded
- the output area where paper exists
Even a small strip of paper can block the next sheet or make the printer think the jam is still there.
If you see a small piece, remove it gently with your fingers if you can reach it safely. Do not push scraps deeper inside.
Step 5: Close Every Cover Properly
Once the paper path looks clear, close every access panel fully.
This part matters more than many beginners expect. A rear door or front cover that looks closed but is not fully latched can cause another error or stop printing completely.
Make sure trays are seated properly and that any rear unit is clicked back into place.
Step 6: Reload Paper the Right Way
Before you test the printer again, reload the tray correctly.
Use a small stack of clean, flat paper. Do not refill the tray to the top right away. A lighter stack makes it easier to see whether the printer is feeding normally.
Check the paper guides too. They should sit against the paper without squeezing it. Guides that are too loose or too tight can cause feeding problems that feel like a jam.
Avoid using paper that is:
- curled
- damp
- bent
- torn
- mixed sizes
- loaded above the tray limit
If you were printing labels, envelopes, or thick paper when the jam happened, switch back to normal plain paper for the test print.
Step 7: Run One Test Print
Turn the printer back on and print one simple page.
Watch how the paper feeds. If it moves in smoothly and exits cleanly, the jam is probably resolved.
If it jams again right away in the same place, stop after one retry. Repeating the same failed feed over and over can create more paper, leave more scraps, or strain the rollers.
At that point, the issue may no longer be just one stuck sheet.
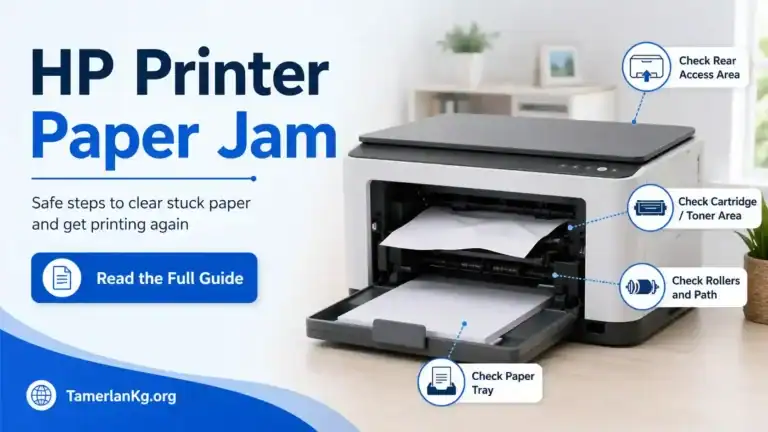
Common Places Paper Gets Stuck
Input tray entry point
This happens when the paper starts feeding but does not fully enter the path. You may see the front edge of the sheet still near the tray.
Rear access area
This is a very common jam location because the paper path often bends here. Folded or half-fed sheets may be visible from the back.
Front cover or cartridge path
Sometimes the sheet gets farther into the printer and stops near the ink or toner area.
Output slot
A page may almost finish printing and then crease or stop before exiting fully.
Small scraps near rollers
This is common after someone has already tried to pull the paper out quickly, and it tears.
What Not to Force
A lot of paper jams get worse because someone tries to fix them too aggressively.
Do not pull from the wrong direction
If the paper is clearly caught deeper in the path, pulling it backward from the tray can tear it.
Do not yank the paper fast
Slow, even pressure is safer than one hard pull.
Do not use sharp tools
Knives, screwdrivers, scissors, and metal tweezers can damage rollers, sensors, or plastic guides.
Do not force moving parts
If a carriage, roller, or door does not move easily, stop. Forcing it can turn a simple jam into a real repair problem.
Do not ignore small scraps
One tiny piece left behind can cause the next jam.
Do not keep testing over and over
If the same jam happens again immediately, more retrying is not always better.
When to Stop Trying to Clear It Yourself
A beginner-friendly printer paper jam fix should stay within normal user access areas.
Stop and get model-specific help if:
- The paper is wrapped tightly around an internal roller
- You cannot reach the torn pieces safely
- a part feels hot or fragile
- The printer makes grinding noises after the jam
- A cover will not close normally afterward
- The same jam returns every time you print
- The printer still shows a jam after you removed all visible paper
Related fix guide
That usually means the problem may be deeper than one stuck sheet. It could involve hidden scraps, worn rollers, a feed issue, or a part that needs model-specific guidance.
If the printer or Windows still shows a jam after the paper path looks clear, Microsoft’s official Windows paper jam guide can help with PC-side checks. For model-specific access doors and hidden jam locations, HP Support and Brother Support both offer illustrated instructions for many printers.
Simple Habits That Help Right After a Jam
You do not need a full maintenance routine to reduce the chance of another jam right away.
Just do these basics:
- Use fresh, flat paper
- Fan the stack lightly before loading
- Keep one paper size in the tray
- Set the guides correctly
- Do not overload the tray
- Remove damaged sheets before printing
These small steps often make a bigger difference than people expect.
Final Thoughts
If you want to fix a printer paper jam safely, focus on order and patience.
Turn the printer off first. Clear loose paper from the tray. Check the rear access area before moving deeper into the printer. Remove paper slowly, look for torn scraps, reload paper correctly, and test with one page.
If something feels stuck, hot, or difficult to reach, stop before you force it. A careful approach is the best way to clear the jam without creating a bigger problem.
FAQ section
How do you fix a printer paper jam without damaging the printer?
Turn the printer off, unplug it, and remove paper slowly from the easiest access point first. Start with the tray, then check the rear access area, then the front cover area if needed. Do not yank the paper or use sharp tools.
Should I turn the printer off before clearing a paper jam?
Yes. Turning the printer off helps prevent internal movement while you are clearing the jam and makes the process safer.
Is it better to pull jammed paper from the front or the back?
It depends on where the paper is stuck, but many printers are easiest to clear from the rear access area. Pull the paper in the direction of the paper path whenever possible.
What should I do if the paper tears inside the printer?
Check carefully for every remaining scrap before closing the printer. Even a small piece left inside can cause another jam or keep the warning active.
Why does my printer jam again after I remove the paper?
The most common reasons are torn scraps left inside, damaged paper still in the tray, paper guides set incorrectly, or a deeper feed problem.
When should I stop trying to fix a paper jam myself?
Stop if the paper is wrapped deep inside, parts feel hot or fragile, something will not move normally, or the printer jams again immediately after one careful retry.
Short excerpt
A printer paper jam is usually fixable at home if you clear it in the right order. This guide shows you how to remove stuck paper safely, avoid common mistakes, and know when to stop.