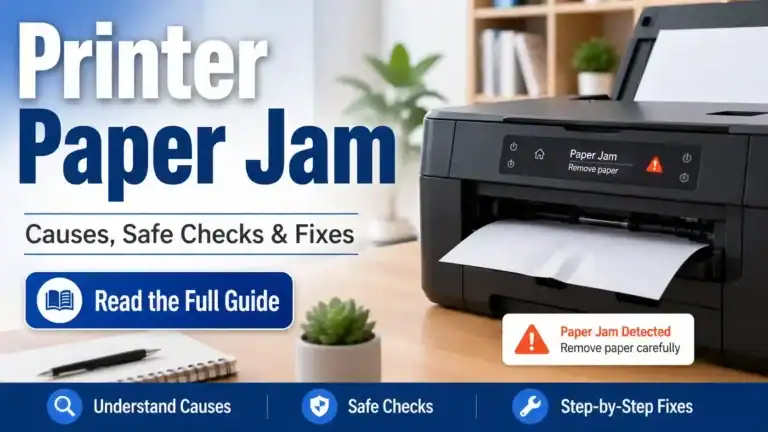
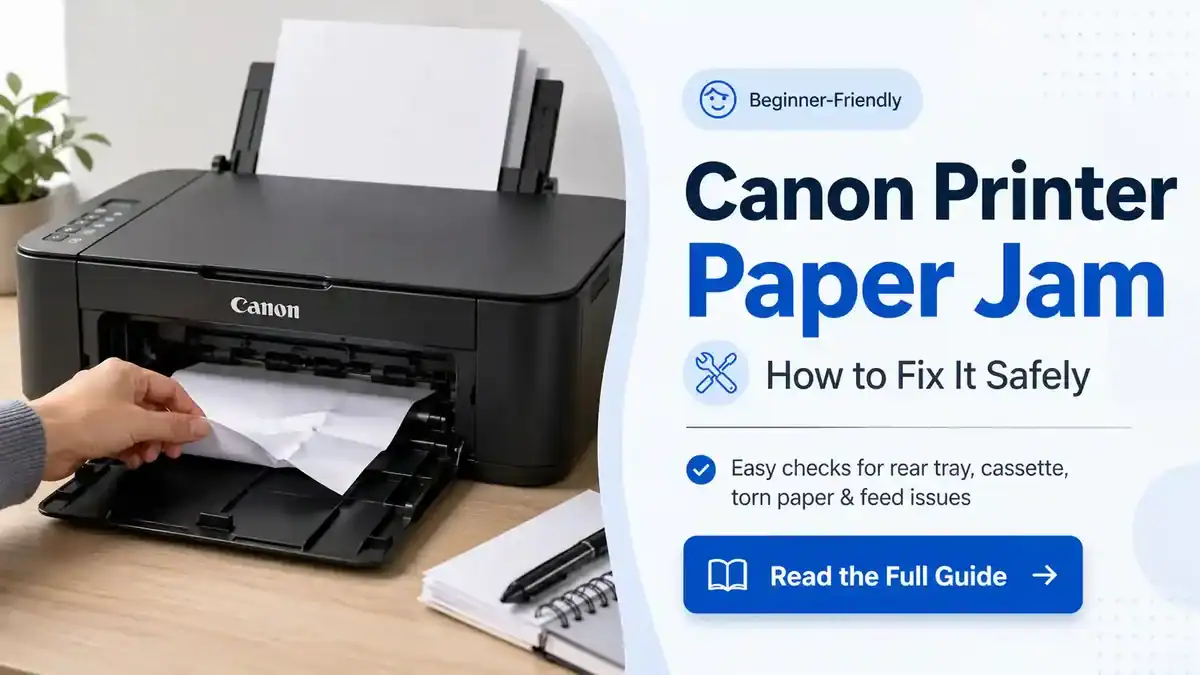
Canon Printer Paper Jam: How to Fix It
A Canon printer paper jam usually means paper is stuck, torn, misfed, or blocking part of the printer’s paper path. It can happen in the rear tray, cassette, output slot, rear cover, duplex area, or inside the printer near the ink or toner section.
Start with the safest checks first. Do not pull paper hard, do not use sharp tools, and do not take the printer apart. Canon printer models vary, so follow the printer screen, manual, or Canon app if your model shows a specific paper jam location or support code. You can also look up model-specific instructions in Canon’s official user manual library.
This page is focused on Canon paper jam troubleshooting. For broader non-brand causes and prevention advice, see our printer paper jam guide.
Table of Contents
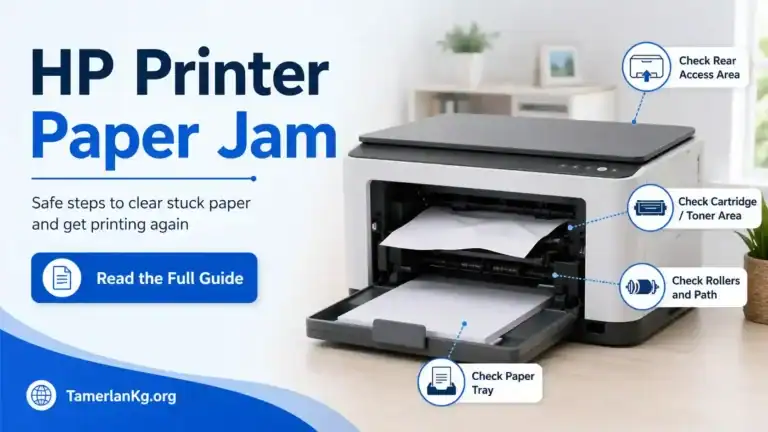
What to check first when your Canon printer says paper jam
Before opening covers or pulling paper, look at the message on the printer screen or computer. Some Canon printers may point to a specific area, such as the rear tray, cassette, output slot, rear cover, duplex path, or inside the printer.
If your Canon printer is still making noise, wait until it stops moving. Cancel the print job if possible. If the printer screen tells you to press Stop, OK, Resume, or open a certain cover, follow that model-specific instruction first.
A paper jam on a Canon printer can be caused by:
- Paper loaded unevenly
- Too much paper in the tray
- Paper guides set too tight or too loose
- Curled, damp, wrinkled, or thick paper
- Mixed paper sizes in the same tray
- A cassette that is not fully seated
- Torn paper fragments inside the paper path
- Dusty or worn feed rollers
- A blocked rear tray, output slot, rear cover, or duplex path
The goal is to clear the paper path slowly and safely, then reload paper correctly before testing again.
Before removing jammed paper from a Canon printer
Stop the print job first
Cancel the current print job from your computer or device if you can. If the printer has already stopped and shows a paper jam message, leave it stopped and avoid pressing random buttons.
On some Canon models, pressing Stop or OK may cancel the current job. On others, the screen may tell you to clear the jam first. Use the instructions shown on your printer when they differ from general advice.
Power off carefully
For many Canon home printers, turning the printer off before opening access areas is the safest option. If you need to inspect inside the printer, power it off and unplug it only after the printer has stopped moving.
Be more careful with Canon imageCLASS laser printers or any printer that has been printing for a while. Internal parts can be warm. Do not touch the toner drum, fuser area, electrical contacts, belts, or rollers unless your model manual clearly tells you to.
If your Canon printer includes fax features, check the model screen or manual before unplugging it, because some devices may store or process fax data differently.
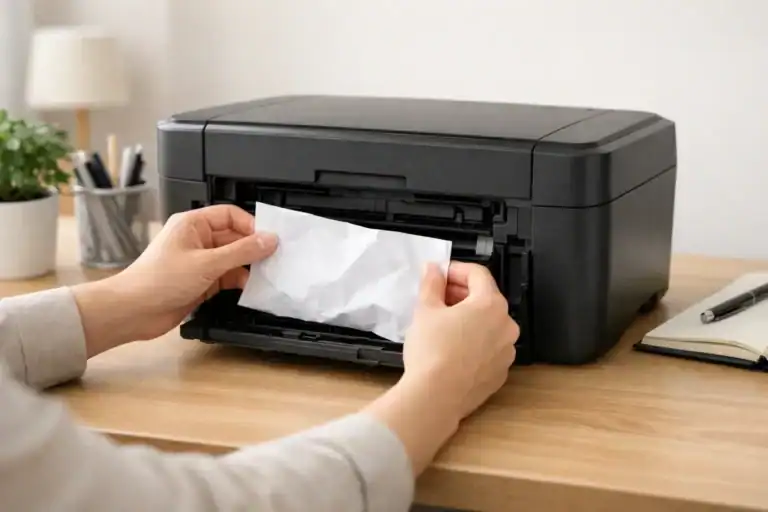
Do not force anything
Never force stuck paper out of a Canon printer. If the paper does not move with gentle, even pressure, stop and check another access point.
Avoid:
- Sharp tools inside the printer
- Metal tweezers near rollers or sensors
- Pulling paper aggressively
- Spraying liquid inside the printer
- Bypassing sensors
- Removing panels that are not meant to be opened by the user
- Touching clear strips, belts, toner drums, exposed contacts, or any part that looks delicate
A small tear can leave fragments behind and keep the Canon paper jam message active.
How to fix a Canon printer paper jam safely
Step 1: Remove loose paper from the tray
Take out any loose paper from the rear tray, cassette, or multi-purpose tray. Do not reload paper yet.
Check the stack you removed. If the paper is curled, damp, folded, wrinkled, stuck together, or mixed with another size, set it aside. Use a small stack of plain Letter or A4 paper for the first test after the jam is cleared.
Step 2: Check the rear tray
Many Canon PIXMA and MAXIFY printers can feed paper from a rear tray. Look into the rear feed area with good light.
If the paper is visible, hold it with both hands and pull slowly. Keep the paper as flat as possible while pulling. If it starts to tear or feels locked, stop.
Also check for small items that may have fallen into the rear tray, such as paper clips, labels, bits of torn paper, or packaging scraps. Do not use sharp tools to dig inside the printer.
Step 3: Check the output slot
Look where printed paper normally comes out. A Canon printer paper jam can happen near the output slot if the paper curls, exits crookedly, or gets caught halfway through printing.
If the paper is visible from the front, pull it slowly with both hands. Pull in the direction that feels natural and easy. If the sheet does not move, do not yank it. The paper may be held inside another part of the feed path.
After removing paper from the output area, look again for torn pieces near the left and right sides of the slot.
Step 4: Check the cassette
If your Canon printer uses a front cassette, pull the cassette out gently. Look inside the cassette opening and along the feed edge.
Paper can jam at the front of the cassette, behind the stack, or just inside the feed path. Remove any visible paper slowly and evenly.
Before putting the cassette back, check that:
- The paper stack is not above the fill mark
- The paper guides match the paper size
- The paper is flat and aligned
- The cassette slides in fully
A cassette that is not fully inserted can cause feed errors or repeated jam messages.
Step 5: Check the rear cover or duplex area
Some Canon printers have a rear cover, transport unit, or duplex path for two-sided printing. If your model has one, check this area when the paper is not visible from the tray or output slot.
Open only the access cover designed for users. Remove visible paper slowly. If the paper is wrapped around a roller or trapped deep inside, do not force it.
Close the rear cover firmly when finished. A loose rear cover can cause the printer to keep showing a jam or cover error.
Step 6: Check inside the printer
On many Canon inkjet printers, you may need to open the top cover or scanning unit to check inside the printer. On Canon laser printers, you may need to open the toner access area, depending on the model.
Look for paper near the cartridge holder, print head area, toner area, or inner paper path. Remove only the paper you can reach safely.
If the ink cartridge holder or print head carriage is in the way, follow your Canon model’s screen or manual. Do not push it with force. Avoid touching clear film strips, white belts, tubes, contacts, toner drum surfaces, or any part that looks delicate.
Step 7: Remove torn paper fragments
A Canon printer can keep showing a paper jam even after the main sheet is removed if a small scrap is still inside.
Check carefully around:
- Rear tray opening
- Output slot
- Cassette opening
- Rear cover or duplex path
- Inside corners
- Under or near the cartridge holder
- Around the paper feed entry point
Use a flashlight if needed. Do not use knives, screwdrivers, pins, or other sharp objects inside the printer.
Step 8: Close covers and restart the printer
After removing the jammed paper and checking for scraps, close every cover fully, reinsert the cassette if your model has one. Reload a small stack of clean, plain paper.
Turn the printer back on. Follow the printer screen. You may need to press OK, Resume, Stop/Reset, or another button depending on your Canon model.
Print a simple test page before trying photo paper, envelopes, labels, cardstock, or two-sided printing again.
For PIXMA and MAXIFY-style inkjet models, Canon’s inkjet paper-jam instructions show that the output slot, rear tray, cassette, and inside access area may all need to be checked depending on the model.
Canon printer keeps saying paper jam after the paper is removed
If your Canon printer keeps saying paper jam after you removed the paper, do not keep sending print jobs. Something may still be blocking the paper path.
Check these common causes first.
A small paper piece is still inside
Tiny torn scraps are easy to miss. Look again in the rear tray, cassette opening, output slot, rear cover, duplex area, and inside corners. Even a small piece can block a sensor or stop the paper from feeding correctly.
A cover or cassette is not fully closed
Make sure the rear cover, scanning unit, front cover, output tray, and cassette are fully closed or seated. Canon printers may continue showing an error if a cover is slightly open.
The paper is loaded incorrectly
Remove the paper and reload it carefully. Align the edges, keep the guides snug but not tight, and do not overfill the tray.
Do not mix paper sizes, paper types, or curled sheets in the same stack. If the printer asks you to confirm paper size or paper source, choose the setting that matches the paper you loaded.
The printer may have a feed or sensor issue
If no paper is visible and the Canon paper jam message keeps returning, the cause may be hidden debris, a blocked sensor, a roller problem, or a hardware fault.
At that point, stop forcing print attempts. Repeated printing can make the jam worse or damage the paper path.
Canon rear tray and cassette paper jams
Canon paper jam problems often start at the feed source. The rear tray and cassette can fail in different ways.
The rear tray paper goes in crooked
If paper enters the Canon printer at an angle, check the rear tray guides. They should touch the paper lightly without bending it.
Crooked feeding can happen when:
- The guides are too loose
- The paper stack is uneven
- The paper is curled
- The rear tray is overfilled
- The paper type is too thick for that tray
- Dust or debris is affecting the feed rollers
Try a small stack of plain paper. If that works, the issue may be the previous paper type, paper size, or loading method.
Cassette paper does not feed correctly
If the cassette is the problem, remove it and check the stack. The paper should sit flat, with the guides aligned to the correct size.
A Canon cassette paper jam may happen when the cassette is not fully inserted, the paper size setting does not match, or the stack is too high.
After clearing the jam, push the cassette in firmly and confirm any paper size prompt on the printer screen.
Paper jams during two-sided printing
Duplex printing uses a longer paper path. If the paper is curled, damp, too thick, or unsuitable for two-sided printing, it may jam when the printer pulls it back through.
For the first test after a jam, turn off duplex printing and use plain paper. Once normal printing works, try two-sided printing again with paper supported by your Canon model.
For some imageCLASS models, Canon’s imageCLASS paper-jam guidance uses the output tray, rear side, and two-sided unit checks. Follow your exact model’s screen or manual when the access points differ.
Canon paper jam caused by the rollers
Canon printers use feed rollers to grip and move paper. If the rollers are dusty, worn, or slipping, the printer may pull paper unevenly or fail to feed.
Some Canon models include a roller cleaning option in the printer maintenance menu or software. Use that option only if your model provides it or the manual recommends it.
Do not spray cleaner inside the printer. Do not scrub internal rollers with sharp or abrasive tools. If your model manual gives a safe roller cleaning method, follow it exactly.
If the printer keeps jamming after careful paper loading and basic maintenance, the rollers may be worn or the feed mechanism may need service.
How to prevent Canon printer paper jams
Most Canon paper jam problems can be reduced by loading paper carefully and using the right paper for the printer.
Load paper correctly
Before printing, make sure the paper is flat, dry, and aligned. Fan the stack gently if sheets are sticking together, then tap the edges on a flat surface.
Keep the paper guides snug against the stack, but do not press them so tightly that the paper bends.
Use the right tray for the paper type
Many Canon printers support different paper sources for plain paper, photo paper, envelopes, or specialty media. The best tray can vary by model.
If your printer asks for a paper source, size, or type, choose the option that matches what you loaded. A mismatch can cause feeding problems or repeated paper jam errors.
Avoid overloading the tray
Too much paper can cause multiple sheets to feed at once. Load a smaller stack when testing after a jam.
This is especially useful if your Canon printer paper jam happened with photo paper, envelopes, labels, cardstock, or smaller paper sizes.
Store paper properly
Paper that absorbs moisture or curls at the edges is more likely to jam. Store paper flat in a dry place and keep unused paper in its packaging when possible.
If a stack feels wavy, curled, or damp, use a fresh stack for testing.
When to stop and contact Canon support or a repair service
Stop troubleshooting and get help if:
- The paper is stuck deep inside and will not move gently
- Paper tears, and you cannot safely reach the pieces
- The printer makes grinding or clicking noises after the jam
- The Canon paper jam message returns after several careful checks
- A cover, roller, tray, or cartridge holder appears damaged
- The printer is under warranty
- Your Canon model screen or manual says service is required
Do not disassemble the printer to reach hidden paper. A jam that cannot be cleared through normal access points may need official support or professional service.
Canon printer paper jam vs other printer problems
If the paper is physically stuck or the printer shows a clear jam message, focus on the Canon paper path first.
If you need a broader step-by-step checklist for non-brand paper jams, use our ” How to Fix a Printer Paper Jam guide.
If the jam is cleared but the printer still does not print, the issue may be separate from the paper path. In that case, move to our printer not printing troubleshooting page instead of repeating the same jam checks.
FAQ section
Why does my Canon printer keep getting paper jams?
Your Canon printer may keep getting paper jams because the paper is loaded unevenly, the tray is overfilled, the guides are too tight or too loose, the paper is curled or damp, or small, torn pieces are still inside. Dusty or worn feed rollers can also cause repeated jams.
How do I fix a paper jam on a Canon printer?
Stop printing, remove loose paper, check the rear tray, output slot, cassette, rear cover, duplex path, and inside access area, then slowly remove any visible paper with both hands. After clearing the jam, check for torn fragments, reload plain paper, and follow the printer screen to restart.
Can I pull jammed paper out of a Canon printer?
Yes, but only if it moves with gentle pressure. Hold the paper with both hands and pull slowly. If the paper feels locked or starts to tear, stop and check another access point instead of pulling harder.
Why does my Canon printer say paper jam, but there is no paper?
There may be a small torn piece hidden inside, a blocked sensor, a loose cover, a cassette that is not fully seated, or a feed mechanism issue. Check the paper path again with good light and follow your Canon model’s screen or manual.
What should I do if paper tears inside my Canon printer?
Stop printing and look for torn pieces in the rear tray, output slot, cassette opening, rear cover, duplex area, and inside corners. Do not use sharp tools. If you cannot reach the pieces safely, contact Canon support or a repair service.
Why is my Canon printer pulling paper crooked?
Crooked feeding usually happens when the paper guides are loose, the stack is uneven, the paper is curled, the tray is overfilled, or the rollers are not gripping evenly. Reload a small stack of plain paper and test again.
Should I clean Canon printer rollers after a paper jam?
Only clean the rollers if your Canon model provides a roller cleaning option or the manual recommends it. Use the printer’s maintenance function where available. Do not spray liquid inside the printer.
Does this apply to Canon PIXMA, MAXIFY, and imageCLASS printers?
Yes, the safe troubleshooting order applies broadly, but the access points vary. PIXMA and MAXIFY models often use rear trays, cassettes, output slots, and scanning units. imageCLASS models may involve toner access areas, rear covers, duplex paths, or multi-purpose trays. Follow your model screen or manual when a step differs.
Short excerpt
A beginner-safe guide to fixing a Canon printer paper jam, including the rear tray, cassette, output slot, torn paper fragments, rollers, and repeated jam messages.